Since we had so many requests from you guys to do a tutorial on how to paint thermofoil cabinets, we decided to do this blog post, just for you. To be
Since we had so many requests from you guys to do a tutorial on how to paint thermofoil cabinets, we decided to do this blog post, just for you. To be honest i am glad that so many of you are interested in this topic, it’s certainly interesting to me. That’s why we’ll be walking you through a step by step guide on how to paint thermofoil cabinets, i hope you enjoy this and find it helpful.
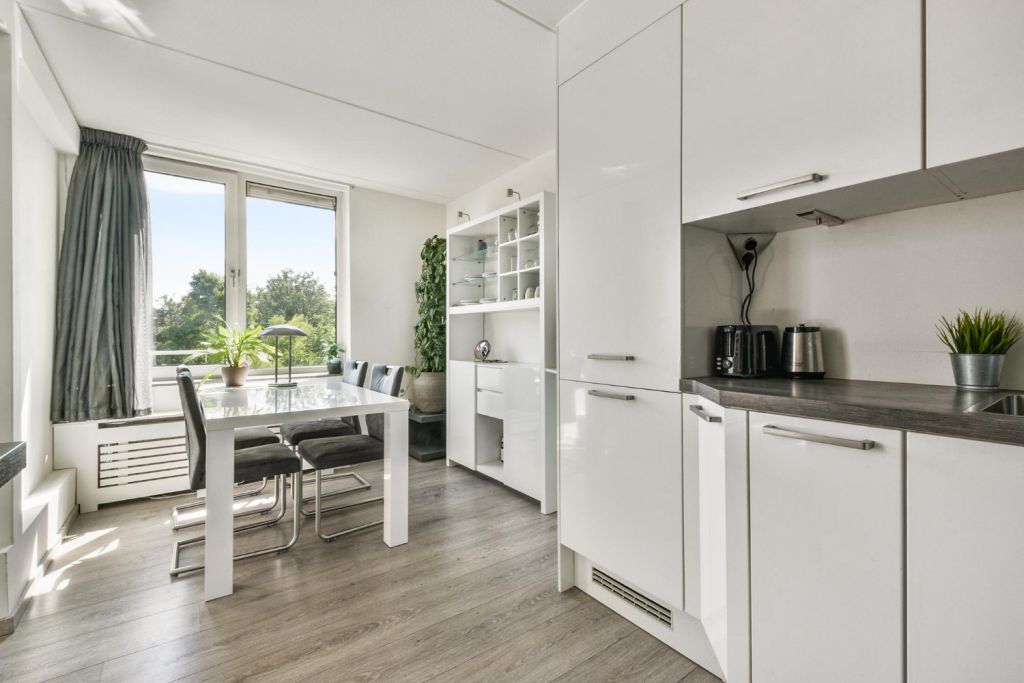
We have thermofoil cabinets in both our bathroom and laundry room. Many people told me they looked similar to laminate. Thermofoil cabinets are really strong and durable, but they can start to peel off eventually. Our cabinets were bought not too long ago, so i felt good about painting them. So let’s get into this tutorial.
Remove & Wash Door Fronts
After removing door, quickly wash them with warm water. I know this may seem unimportant when you hear it, but i like to start with clean surfaces, as cabinets can accumulate grease and grime, so make sure to clean it first.
Lightly Sand
Very lightly sand the doors, to not damage thermofoil, also i would advise you to do this outside, as it can get very messy, and you don’t want that. Don’t rush yourself with this step, take your time.
Wash and Dry
Now, your doors need to be clean. and make sure to remove the powder created from sanding the cabinets. I used warm water and a clean dry towel to dry them. Allowing them to fully dry before priming.

Prepare Your Space
Find some place to prime and paint your cabinets. I used my garage with my doors wide open, you can also do the same as me. Important thing, make sure to use some paper drop cloths to protect your floor. Also put some weights on each side to avoid breeze ruining everything.
Prime The Cabinet Doors
I recommend you to use this spray to prep tha cabinets, i’m not some professional, but to me this worked pretty well, it’s also easy to use. Now just let them fully dry between coats.
Prime Again
Don’t rush this step, you’ll need to let them dry, so you can add another coat. Once you notice they are dry, flip them over, and do the same. You can stop here for today.
Spray The Doors
Now comes my favorite part, the paint sprayer. I think we all waited for this moment. Make sure to follow the directions below.
Helpful Hints:
- Most importantly, don’t rush. Don’t spray what has already been painted.
- Keep the sprayer moving to not recoat a section.
- Don’t panic at the outcome before it fully dries off.
- Cover the nozzle with some plastic wrap to keep the air out.
Let Dry Completely
Now you have to know that doing this first time can look horrible. But don’t panic. You will be amazed later on when it dries. It will look so pretty. Now, the most important part of this process is to let the paint dry completely. As i already said it few times, don’t rush it. If you do rush it, then you risk the cabinet feeling tacky to the touch. If you want to avoid this, i would advise you to do one coat in the morning and another one in the evening, or even tomorrow, it’s your choice.
Paint Again
You will repeat this process, and even need a third coat. Also you should start by painting the backs of door first. After 2-3 coats let them dry over night, and then flip over and paint the fronts.
Rehang and Be Proud
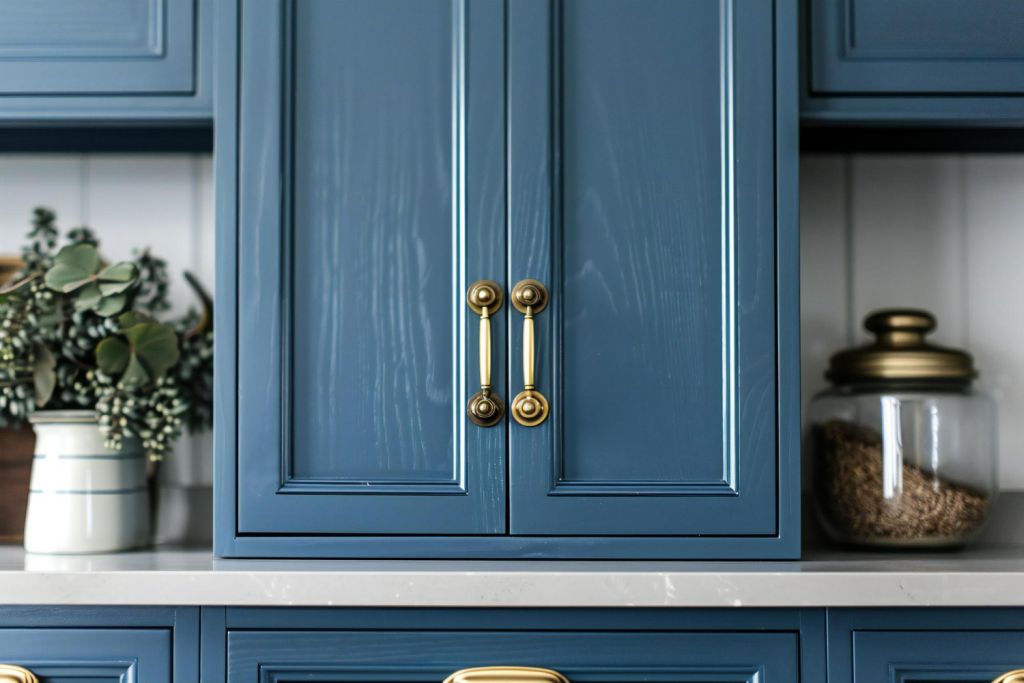
I waited for about a week to hang the doors, as i wanted to make sure the paint will be fully cured. But i have to say that it was totally worth it, i’m happy how it turned out.

COMMENTS